
Content
Replacing a refrigerator water filter is a straightforward task that takes less than 5 minutes in most cases — no tools required. Twist out the old filter, insert the new one, flush the system, and you're done. The bigger challenge is usually knowing when to replace it, which filter to buy, and what to do if something doesn't go smoothly.
Most manufacturers recommend replacing your refrigerator water filter every 6 months or after 200–300 gallons of use, whichever comes first. A clogged or expired filter doesn't just reduce water quality — it can slow water flow, affect ice production, and in some cases put more strain on the fridge's water system.
No special tools are needed, but having the right replacement filter on hand before you begin saves a wasted trip to the store.
Using the wrong filter is the most common mistake people make. Here's how to confirm the correct one:
Filter location varies by brand and fridge style. Knowing where yours is saves time and prevents accidental damage during removal.
| Fridge Type / Brand | Filter Location | Filter Style |
|---|---|---|
| French door (most brands) | Inside upper-right corner of fridge compartment | Push-in twist or push-button |
| Side-by-side (Whirlpool, Maytag) | Bottom left grille at the front base | Quarter-turn twist |
| Top-freezer (GE, Frigidaire) | Inside upper-right corner or back wall of fridge | Inline or cartridge style |
| Samsung (most models) | Inside fridge, upper right | Push-button release |
| LG (InstaView / French door) | Inside fridge, upper left or right | Twist-and-pull |
If you're unsure, check the fridge's user manual or search your model number online — manufacturers typically include a diagram showing the exact filter position.
The process differs slightly depending on filter style, but the core steps are nearly identical across all major brands.
After installing a new filter, the change filter light won't turn off on its own — you need to manually reset it. The method varies by brand:
| Brand | Reset Method |
|---|---|
| Samsung | Hold the "Ice Type" or "Child Lock" button for 3 seconds |
| LG | Press and hold "Reset" or "Filter" button for 3–5 seconds |
| Whirlpool / Maytag | Hold "Filter Reset" button for 3 seconds until light turns green |
| GE | Press and hold "Reset Filter" on the dispenser panel for 3 seconds |
| Frigidaire | Hold "Reset" or "Water Filter" button for 3 seconds |
If the light doesn't reset, consult your fridge's manual — some models require you to hold a combination of buttons or navigate a digital menu.
Skipping the flush step is a mistake that leads to cloudy water, black specks in ice, or an odd taste in the first few glasses. New carbon-based filters release loose carbon fines and trapped air during initial use — flushing clears these out before you consume them.
The standard recommendation is every 6 months or 200–300 gallons, but actual replacement frequency depends on your household size and water quality.
An overdue filter doesn't just stop filtering — it can become a problem in itself. Studies have shown that neglected filters can harbor bacterial growth within the carbon media, especially in households with warmer ambient temperatures. Beyond health concerns, a severely clogged filter can cause low water pressure that stresses the fridge's water inlet valve, potentially leading to costly repairs.
Most issues after a filter replacement are minor and easy to fix without calling a technician.
Brand-name OEM filters from Samsung, GE, Whirlpool, and others typically cost $40–$60 each. Compatible third-party filters for the same fridge often run $10–$25. The quality gap is smaller than manufacturers suggest — provided you choose certified alternatives.
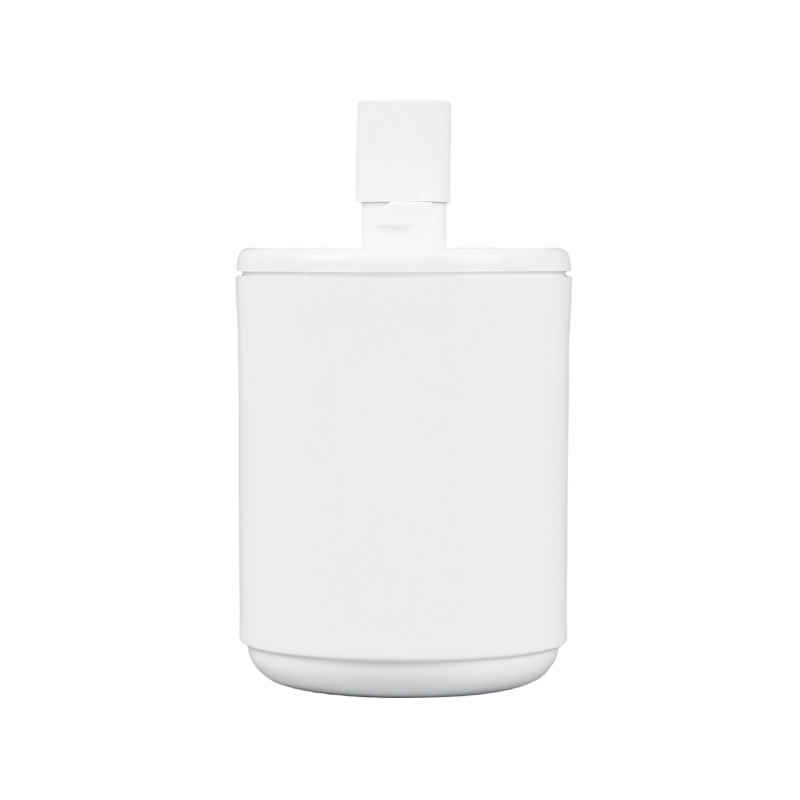
RF-08 refrigerator filter, as a smart choice for modern home health life, tailors a new experience of pure drinking water for LG LT500P series refrigerators. Different from the single filtering functi...
See Details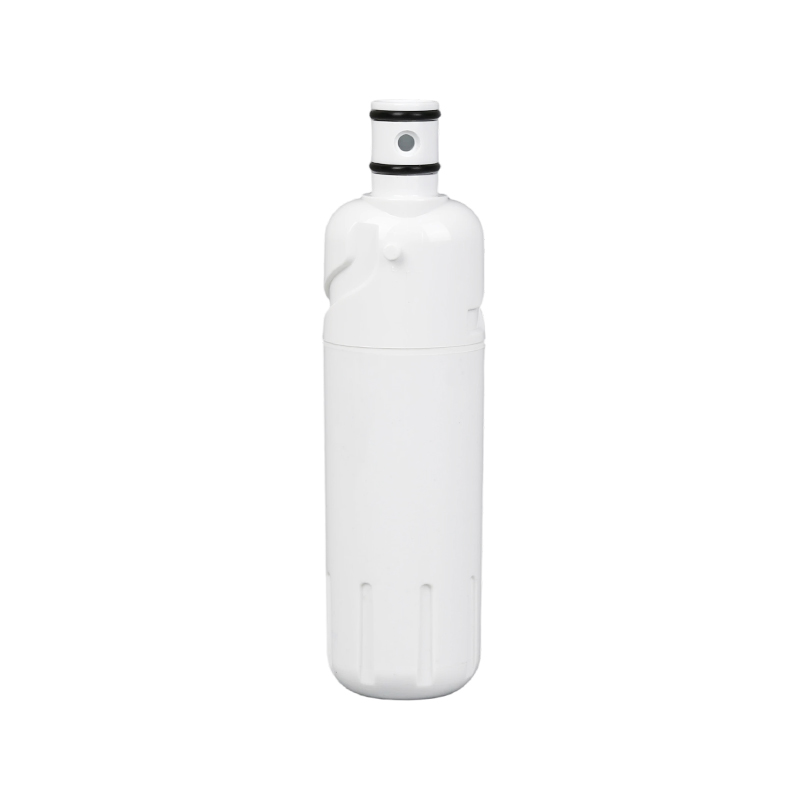
RF-28 refrigerator filter is specially designed for the pursuit of high-quality life. It is compatible with the FILTER2 series and models W10413645A and EDR2RXD1 of well-known brands such as WHIRLPOOL...
See Details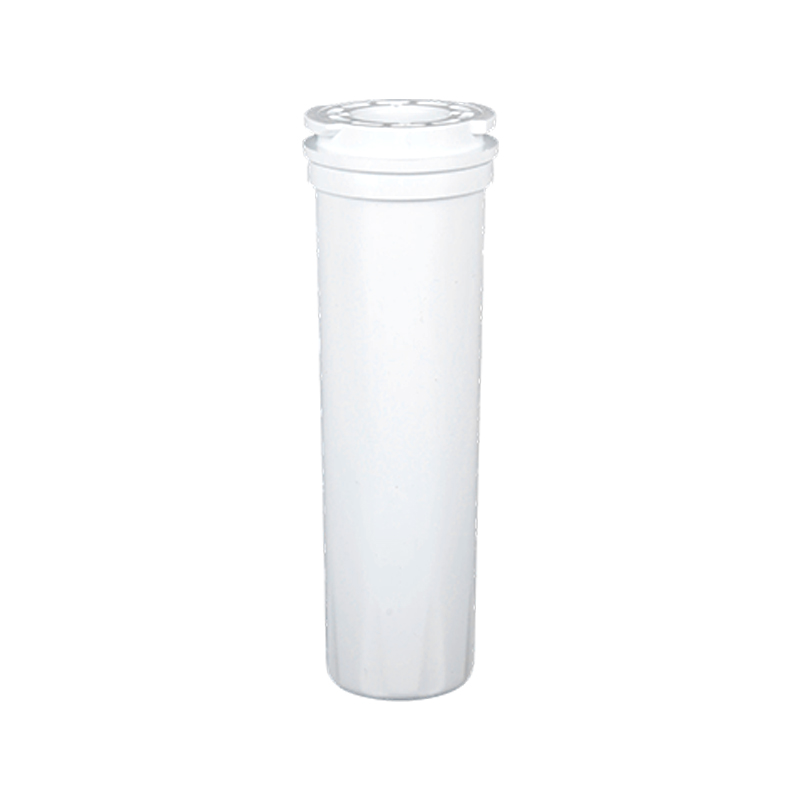
The RF-25 refrigerator-specific water filter is compatible with FISHER&PAYKEL 836848 refrigerators and is designed to bring a fresh and pure drinking water experience to your family. Using advance...
See Details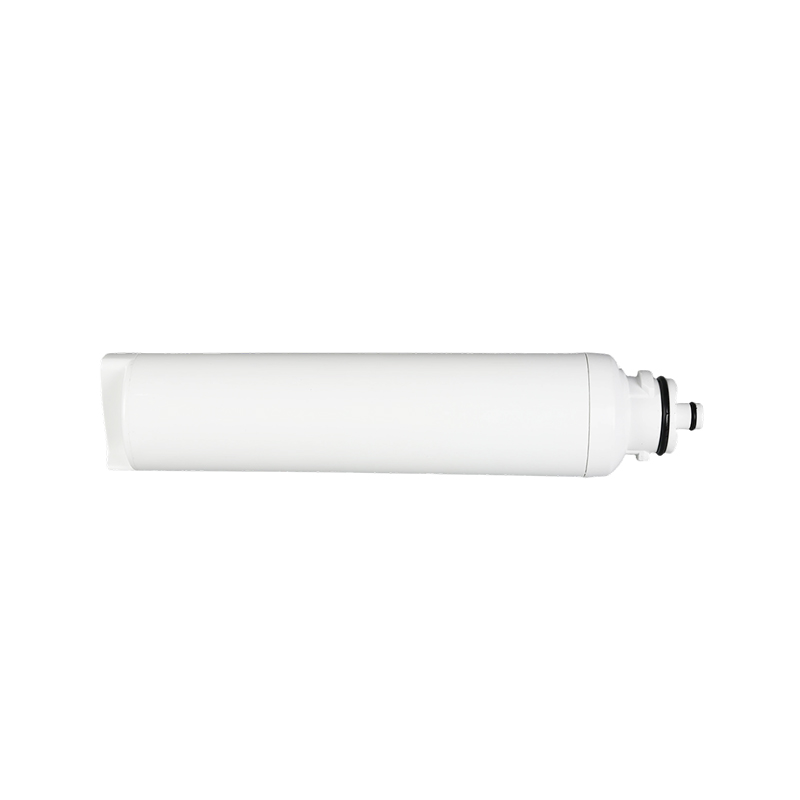
The RF-38 refrigerator filter is specially designed for LG series refrigerators, especially for the LG M7251253FR06 model. It is an ideal choice for your family's healthy drinking water life. Using ad...
See Details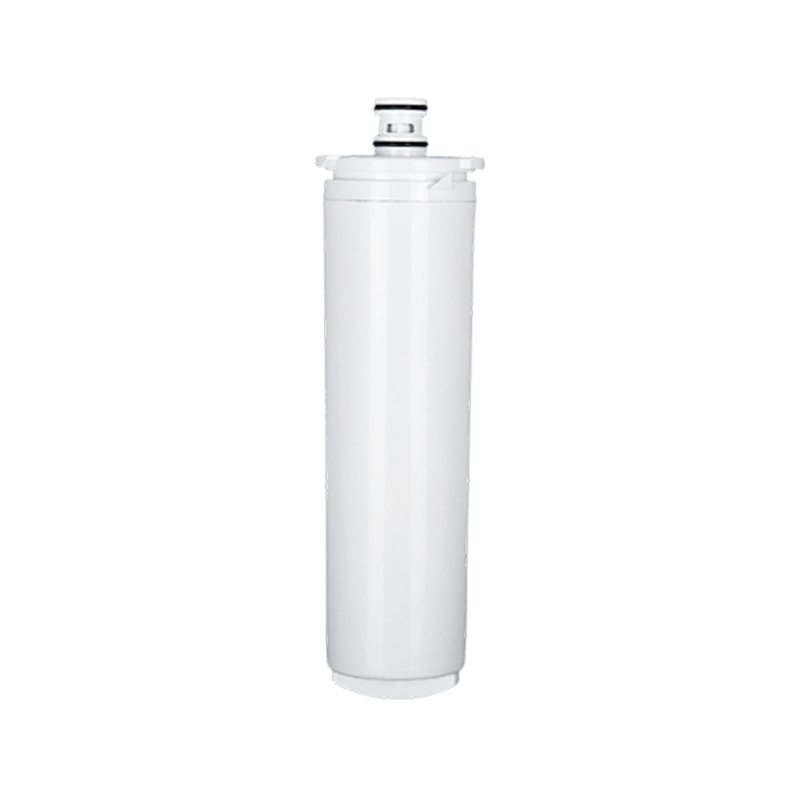
RF-61 refrigerator filter, as the guardian of healthy drinking water for the family, is specially designed for you who pursue high-quality life. It is compatible with SGF-B052 model refrigerator, ensu...
See Details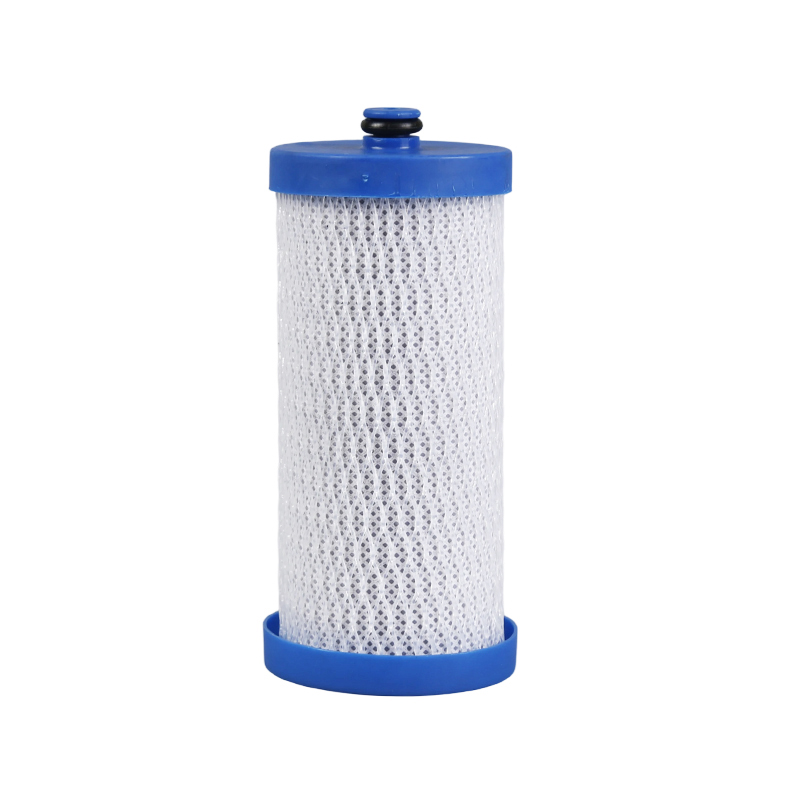
The RF-15 refrigerator water filter is a refrigerator water purification accessory designed for modern families. It uses advanced filtering technology to effectively remove impurities, odors and harmf...
See Details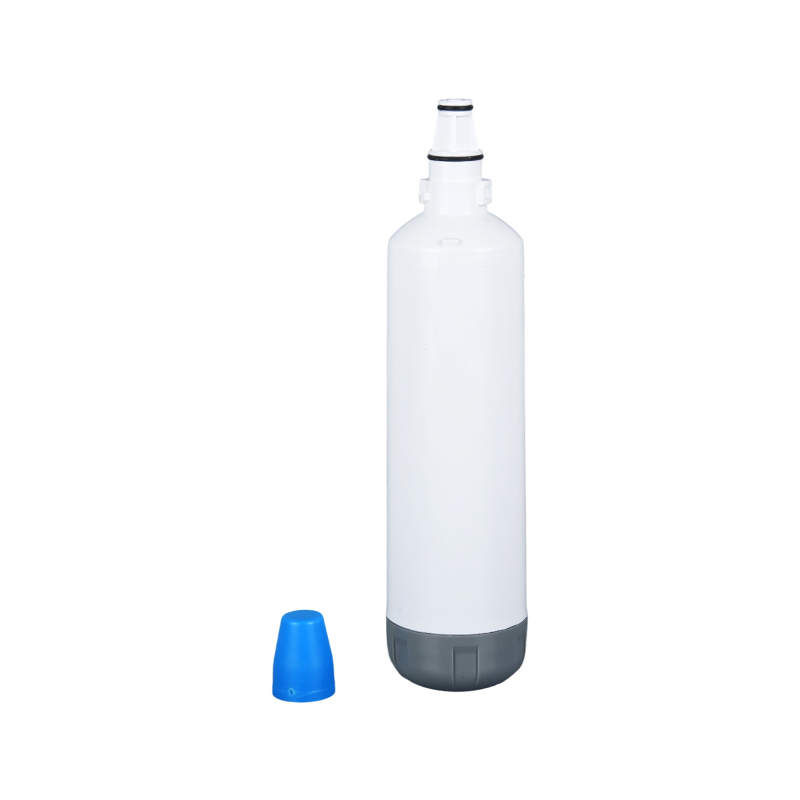
RF-53 refrigerator water filter, with its excellent performance and compatibility, has become a trusted choice for many families. RF-53 refrigerator water filter is designed to improve the water quali...
See Details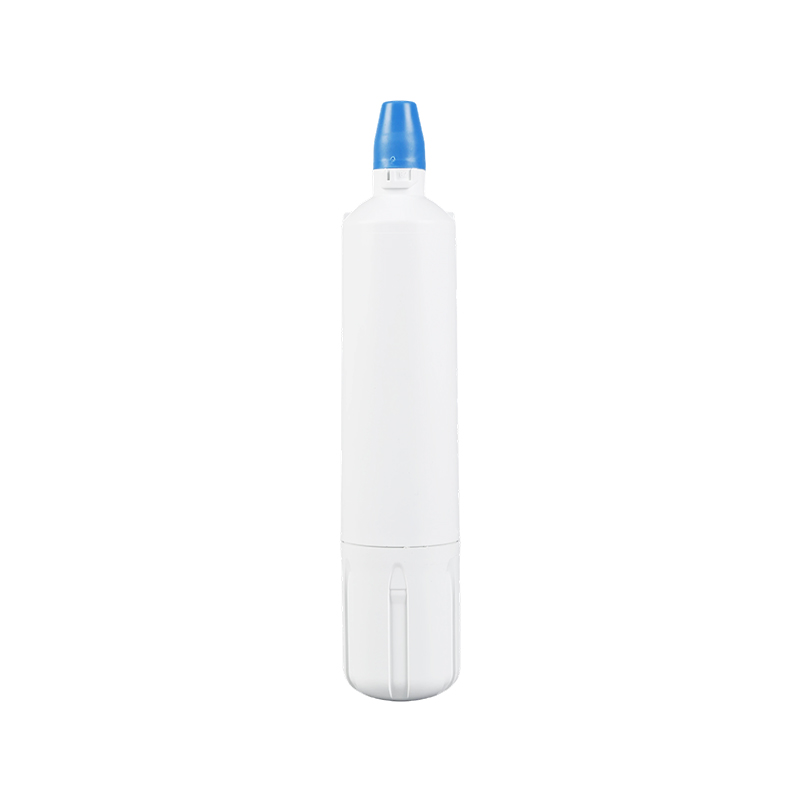
RF-54 refrigerator filter is designed to improve the quality of your family's drinking water. It is compatible with refrigerators of model 4204490 and is an ideal choice for your healthy life. Using a...
See Details
CONTACT us
*Your email is safe with us, we don't spam.

 The company's main products include
 Contact Info
Phone: +86-13962755959 Tel: +86-513-87206118 E-mail: AK@chinnovel.com Add: 555 Yishou North Road, Chengbei Street, Nantong, Jiangsu

 Español
 عربى
عربى русский


